

Is native habitat gone forever?
Native plants play an important role in the health of our ecosystems, and by planting them, we can help ensure that these ecosystems remain healthy and intact for future generations. Fortunately, we can reverse the effects of the past 100 years, and rebuild our native habitat.
Native seeds and seedlings are indigenous to a particular area. They are often well-adapted to the climate and soil of their native region and can be used to help restore local ecosystems. There are many benefits to using native seeds, including:
They are better adapted to the local climate and soil and can thus be more successful in re-establishing native plant populations.
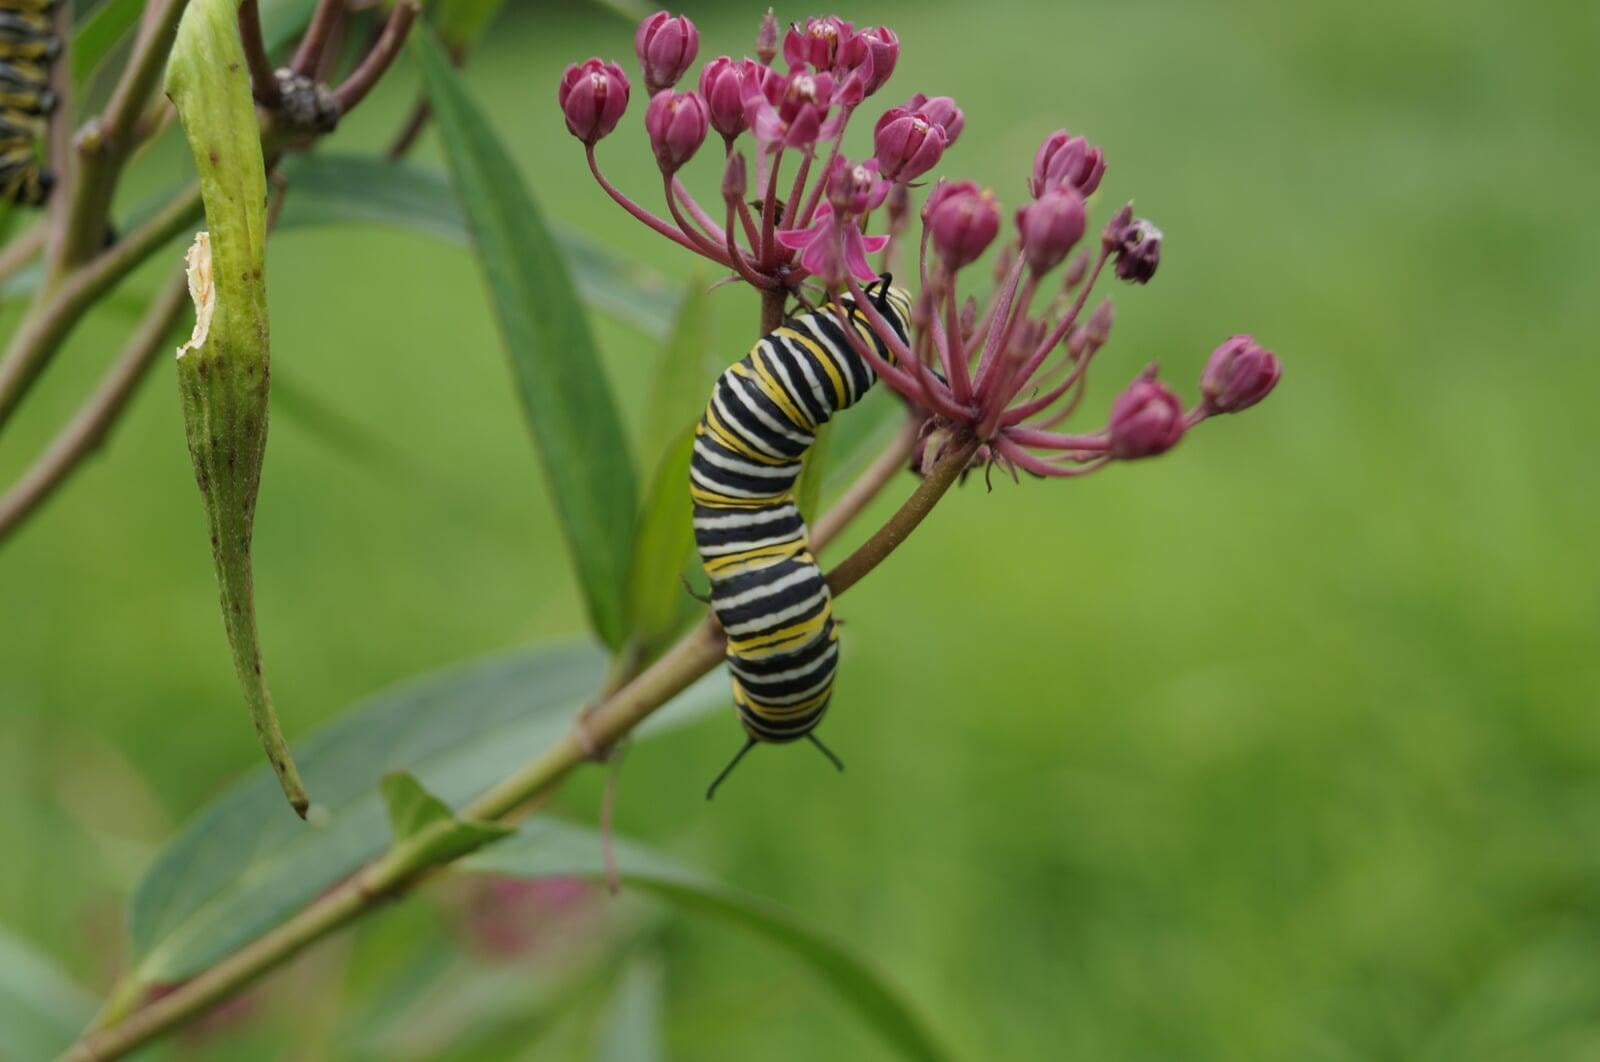
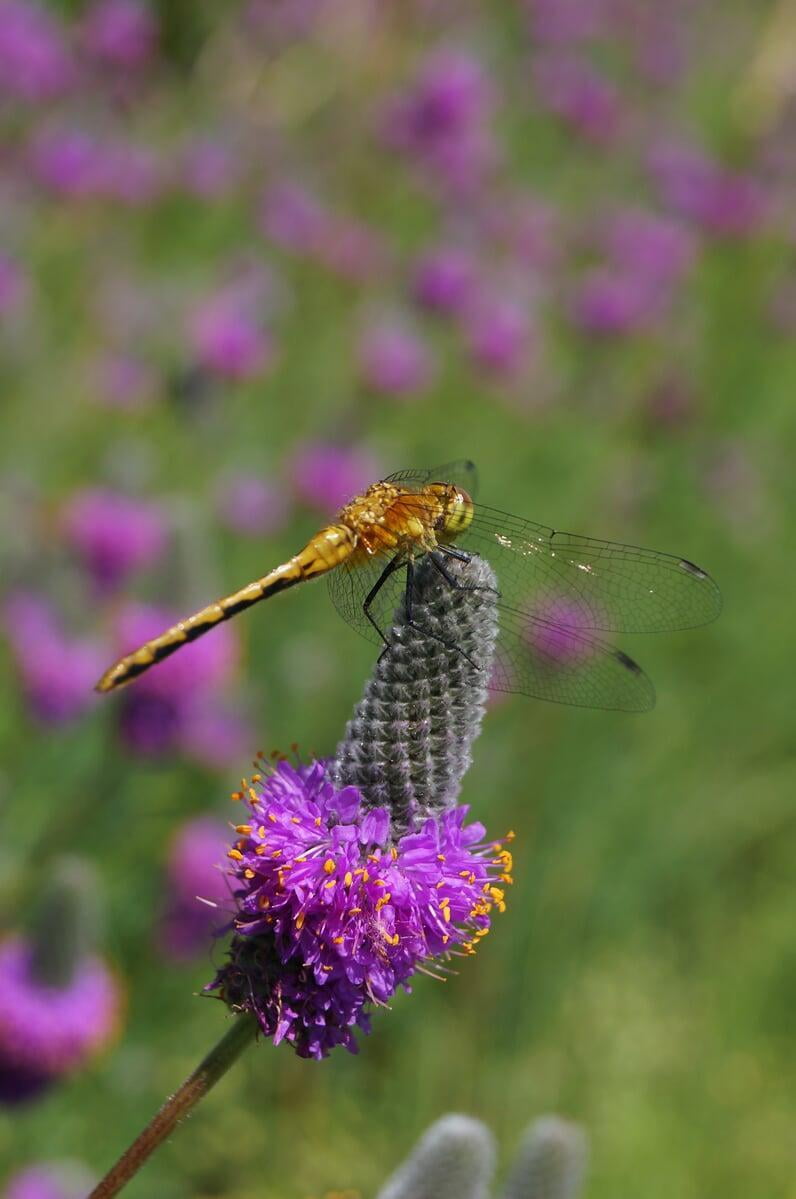
They support local wildlife since many animals and insects are adapted to feed on and pollinate native plants.
They are often more drought-tolerant and disease-resistant than non-native plants.
They can help reduce the need for chemical pesticides and fertilizers.
How to choose the right spot for a native garden.
Native plants are an important part of a healthy ecosystem, but they can be difficult to grow if you don’t know where to plant them. It’s important to choose the right spot for your native plants because they need the right soil and climate to thrive.
If you’re unsure where to plant your native plants, you can ask one of the experts from Prairie Restorations, Inc. or do some research online. Many great resources are available online, including plant databases and gardening forums - we recommend joining our Prairie Restorations Community on Facebook. You can also find information about the best plants for your area by checking out your state’s native plant society. Once you’ve chosen the right spot for your plants, taking care of them is important. Native plants need regular watering and maintenance to stay healthy. With a little care, your native plants will thrive and help create a healthy ecosystem in your yard.
How to prepare soil for your native garden.
There is no one-size-fits-all answer to this question, as the preparation of soil for planting will vary depending on the types of plants you are trying to grow and the existing vegetation. However, there are some basics that you should keep in mind.
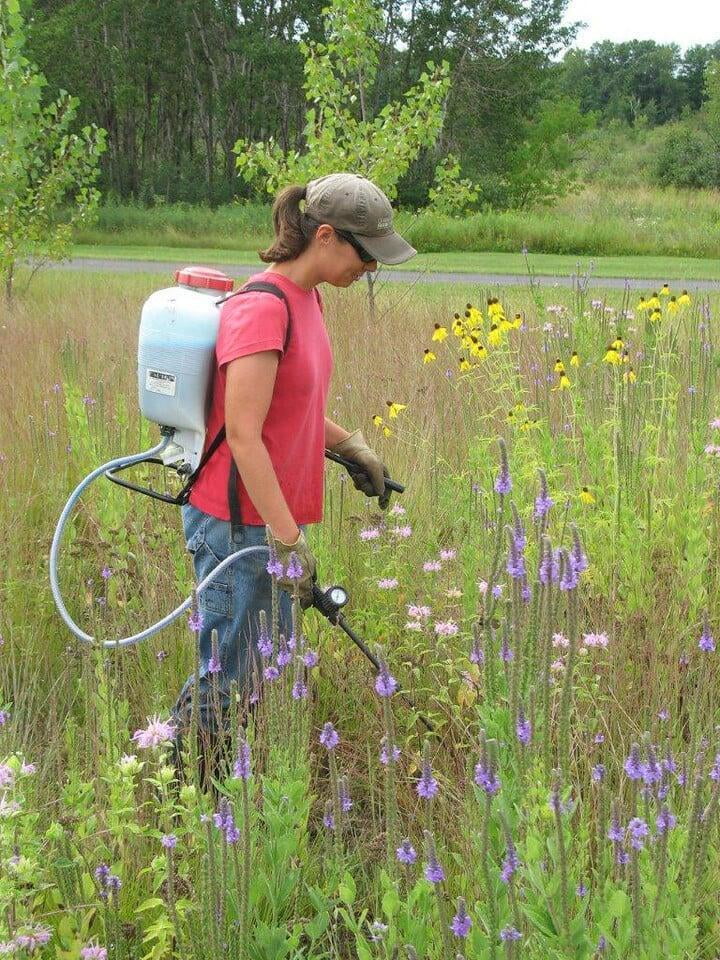
The first step is to remove any existing vegetation from the planting area. This can be done with a shovel or hoe or using a herbicide to kill the plants. If you are using an herbicide, read the label carefully to ensure its safe and proper use on your property.
As an alternative, you may try blanketing the area with plastic to bake the root system of turf grass and kill it. This process can take an entire growing season to do properly.
Another alternative to traditional herbicide is horticultural vinegar, an extremely strong concentration of vinegar, which should still be used with caution. These alternative methods will likely need more maintenance and diligence on the part of the property owner to ensure the successful eradication of invasive species.
Once the existing vegetation is dead and removed, the next step is to loosen the soil. This can be done with a shovel, hoe, rake, or rototiller. Be sure to break up any clumps of soil and to remove any large rocks or roots. Additionally, if you need to use a rototiller, please know that you may introduce more weeds and may need to take additional vegetation management before seeding. once the soil is prepared, use a rake to smooth the surface for seeding.

How to plant native seeds
Native seeds can be planted in a variety of ways. For most homeowners, the best option is to scatter them on the ground by hand broadcasting at the specified rate for the species or mix you’re planting, so be sure to check the package for detailed information. For even coverage, we recommend that you broadcast seed in perpendicular rows across the site to ensure even coverage.
You’ll want to broadcast any grass seed first, which will get raked into the soil lightly. Next, it is ideal to mulch the area lightly with either a clean (no seed) straw or preferably with our native Little Bluestem straw, sold at our retail garden centers. After a light mulching is complete, now it’s time to broadcast your native wildflower seeds, which should not be raked into the soil. A good rain or watering is sufficient to cover the seed.
How to plant native plants
While seeding is an economical way to begin a restoration project or garden, it is not usually the best option when done as the only method of introducing native plants. This is due to the sensitivity of many native plants seeds, and the inability of many species to be harvested and sold commercially. This means that your project can utilize seedlings or larger potted plants to introduce a greater diversity of plants.
Planting plugs, larger 4” pots, and one-gallon pots all follow the same simple planting instructions. After you’ve seeded and mulched the garden (if applicable), you now can lay out your live plants. It is recommended that you lay the plants out before planting to get an idea of how each plant species will interact with the ones around it. It also provides a good check for any paper plans you may have used to design your garden.
How to Water and care for native plants
Watering is one of the most important tasks that needs to be done in order to maintain a healthy garden. It is critical to the health of the plants that they receive the correct amount of water. If seeding, it is important to water them into the soil at approximately one inch of water a week. It is best to do a deep soaking once a week rather than several light waterings throughout the week.
Once seedlings are coming up and become more established they do not require as much watering, if any at all, as native plants’ root systems generally go much deeper and are capable of providing the plant with the necessary water and nutrients. New seedlings should receive similar amounts of water while becoming established, but you should monitor the plants more closely if the weather is excessively hot or dry.
Researchers at the University of Utah have found that native plants don’t need to be fertilized in order to grow and thrive. In fact, adding fertilizer can actually do more harm than good since it can disrupt the natural balance of the soil. Native plants are adapted to the local soil and climate, so they don’t need any help from us to flourish. So go ahead and plant those native plants without fear—they’ll take care of themselves.
How do I weed my native garden?
Weeding non-native plants is an important part of maintaining a healthy native garden. These plants can often out-compete natives for resources and take over an area if not kept in check. There are a few methods for weeding non-native plants. The most common is hand-weeding, which involves simply pulling the plants out of the ground by hand. This is a great option on a small garden, but can be quite laborious on larger projects Another option is using a weed-eater or mower to cut the plants at ground level before they can develop seeds. This is a good option for larger areas but but only works to eliminate annual weeds.
Using herbicides to kill the plants is the most effective, but this needs to be done with caution as it can kill the native plants and be harmful to humans and animals if not used correctly. Feel free to contact Prairie Restorations, Inc. if you have questions about what product might be best for your application, or if you would like assistance with this process.
No matter your chosen method, it is important to be thorough and get all the weeds. Otherwise, they will just grow back, or worse, they will spread their seed and overtake your garden. These steps are critical in the first 3-5 years of your restoration as the native plants establish themselves. After your restoration or garden is established, weeding shouldn’t be needed nearly as much but will likely be something you need to watch for each year.
Establishing a Prairie & Maintenance
Important Planting Dates & Times
Prairie seeds can be planted in the spring or fall. The best time to seed is during spring thaw and late fall, but seeding can be done successfully during the growing season. Winter seeding can also be effective on prepared seed beds on sites with little competition.
Potted seedlings can be planted anytime from spring thaw to freeze-up, although those planted in mid-summer may require supplemental watering. If you have any questions, please feel free to call and talk to one of our expert restorationists.
Let us help you make the best plant selection!
Whether you want a shopping list for one of our Garden Centers or want to work with us on a large-scale installation and maintenance project, take a minute to fill out our PRESTO! form below. We will then follow up with you with a detailed, site-specific plants proposal and solutions we offer.
General Prairie Maintenance - Year 1
Most prairie plants are perennials. Although perennial seeds will germinate the first year, the young seedlings' root growth will be two to three times their above-ground growth, and they may not flower until the second or third year. While this lack of visual growth can be frustrating, keep in mind that it is the strong root system of prairie perennials which enables them to be nearly maintenance-free at maturity.
During this early stage of growth, weeds will take advantage of the lack of above-ground vegetation and appear on your site. To minimize the effects of tall weeds shading prairie seedlings and to prevent these weeds from setting seed, you should plan to cut your planting one, two, or even three times during its first growing season. This is generally done on 30-day intervals using a scythe, mower or line trimmer. Scything is often best, as the cutting height should be kept between five to eight inches. Mowing is also effective, but it is important to keep the blade set as high as possible. Hand weeding is also useful during the first growing season, especially to remove individual noxious weeds. These and invading woody plants may have to be treated with spot spraying. At no time should fertilizers be used. Prairie plants are well-adapted to their environment and do not need fertilization. This expensive, time-consuming and often environmentally unfriendly procedure is not only unnecessary on a natural landscape but is detrimental because it can encourage weeds and other undesirable vegetation.
General Prairie Maintenance - Year 2
During the second season, residual seeds from the first season will germinate and some of the faster-growing native plants will flower and produce seed. There might still, however, be a need for weed control and one mowing might be necessary sometime between mid-June and mid-August. The height and density of the weed cover should help determine if and when to mow. In areas where weeds are especially dominant, the advantages of cutting the weeds and preventing them from setting seed offset any disadvantages of cutting prairie plants. Spot spraying might still be necessary this year.
General Prairie Maintenance - Year 3
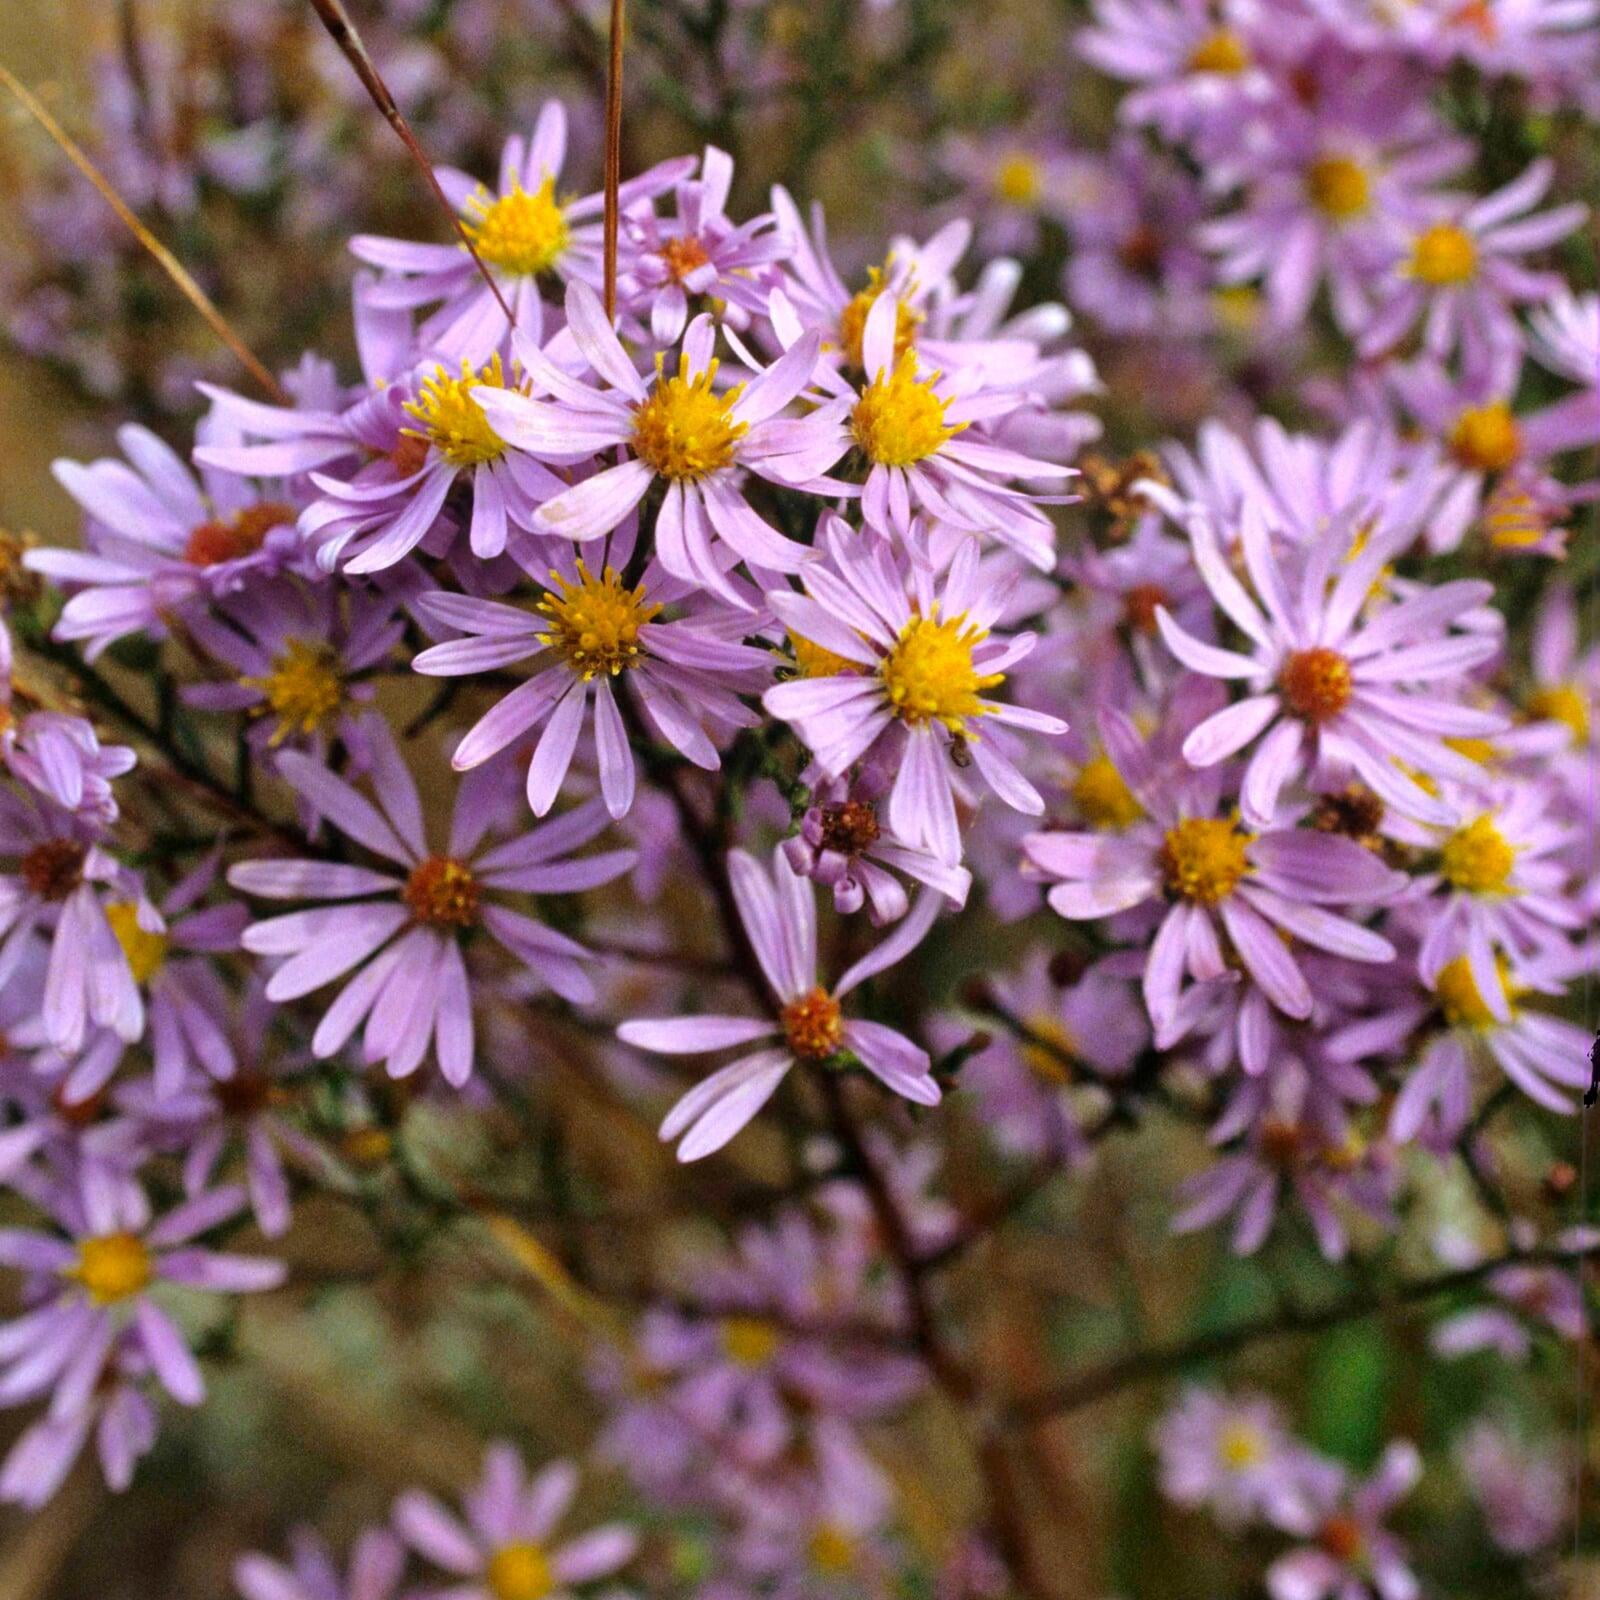
By the third year (and in the years to follow) your patience will begin to pay off. Both grasses and flowers will be mature, providing beautiful, low-maintenance returns. One cutting per year can be used as a clean-up procedure. The best time to cut off old prairie vegetation is in early May or late November (after you've enjoyed the gold, lavender, russets, and maroons of an autumn prairie). In areas where prairie plants were especially tall and dense, mulch or rake away the dead plant material.
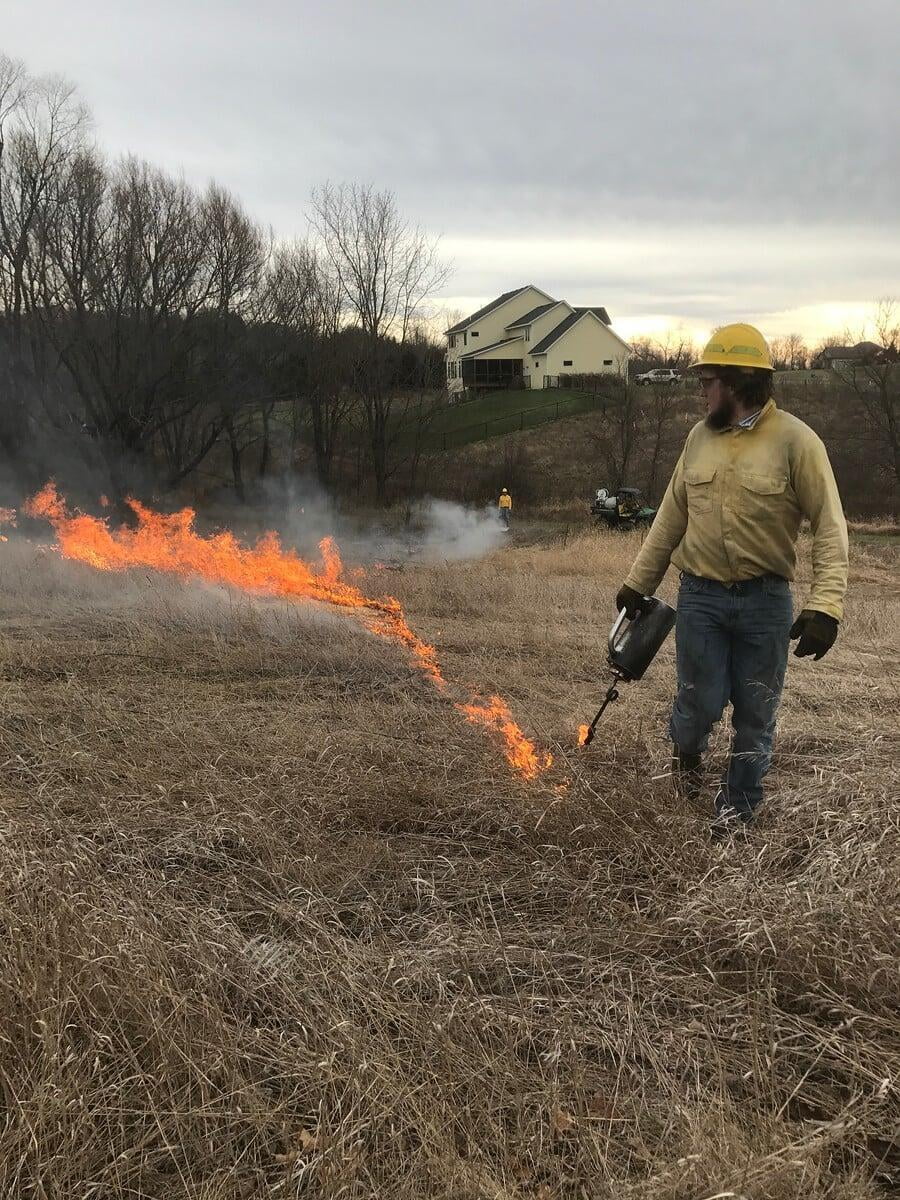
Fire is another method of removing old prairie thatch. In natural prairie ecosystems, fire not only gets rid of accumulated thatch, it also helps reduce woody plant invasion and stimulates the growth of many native grasses and wildflowers. Rotation between prescribed burns and cutting is ideal for prairies and savannas. Keep in mind that a controlled burn is a useful maintenance tool, but requires some expertise. Be certain to check local regulations and permit procedures and, when burning, always use caution.
If you would like to have your prairie burned, but prefer not to do it yourself, please contact us and we will discuss doing the burn for you.